Mirror Back Button Parts
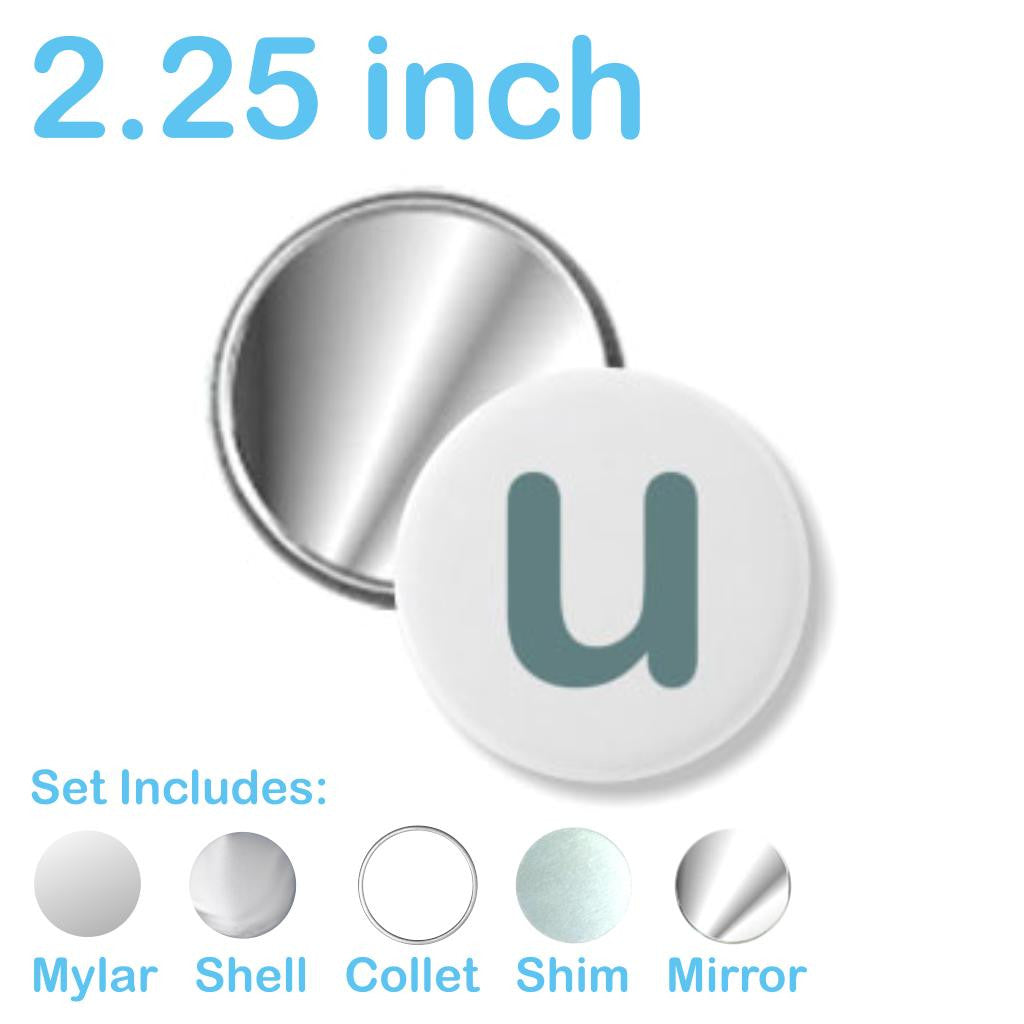
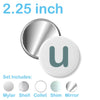
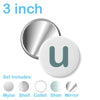
The mirror set includes
- Mylar plastic covers (thickness .003 mm)
- Fronts (shells)
- Backs (Collets)
- Thin metal shims (holds mirror in place)
- Mirror
Description
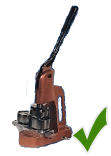
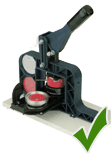
Making a custom Mirror is easy. It is just like making a regular pin back button. In the back-side die, place the collet, then mirror, then slightly bent shim. In the front-side die place the shell, then the graphic, and then the mylar cover as you would for any button. The mirrors get no force put on them, they will not break. These parts are compatible with standard button maker machines of corresponding sizes. Illustrated "how to make a mirror button" instructions also come included with any mirror set you purchase.
How to make a Mirror Back Button - Video

How to use

Paper Recommendation
The manufacturer recommended paper weight for best results is 20# - 24#. However 20# - 32# paper stock thickness is usually acceptable.
Photo paper is usually too thick to make buttons with for most people. We have had customers tell us they successfully used thick paper like photo paper but it is tricky and more time consuming. To make it possible, the circle you cut needs to be a little smaller in diameter than the mylar for the button size you are making. This makes it easier for the plastic mylar to wrap around the edge of the button and not get stuck in the machine's dies.
Origin of Manufacture
Button components (mylar, shell, shim, and collet) are manufactured in the USA. The mirror is made in china.
